As part of my bushcraft Instructor course I had to make a bow of a decent quality. Having never made one before this was somewhat of a challenge (especially since my finger got cut off half way through the project) and the stave itself gave me all manner of problems but I endured and the bow evolved. I think i will stain it and do some more work on it for aesthetics....
BOW MAKING
Part 1: Obtaining The Bow Stave
In order to make a bow, a stave to do so must first be acquired from which to make one. A stave may be obtained from the trunk of a large tree and sometimes from some large, thick branches (Yew bows are generally made from the branches of the tree) but before we cut down any tree there are certain factors that must be taken into consideration.
The first consideration is what species of tree the bow is going to be made from and in theory all tree species COULD be used but there are certain species more suited such as Ash Fraxinus excelsior , Rowan Sorbus aucuparia , Yew Taxus baccata , Cherry Prunus avium or indeed any wild fruit/ nut tree species and some that are not so brilliant such as lime and chestnut.
For this bow I used the species Ash Fraxinus excelsior as its straight grain makes it easier to split in making the stave and easier to tiller in the later stages but also has a certain amount of strength and also elasticity, it is also easy to work green.
When locating a tree suitable to take staves from for making a bow the tree should grow straight, with few knots or low branches and will ideally have large rings (particularly in broadleaf species) and the diameter should really be a minimum of 8 inches however the tree which we used was closer to 15 inches in diameter.
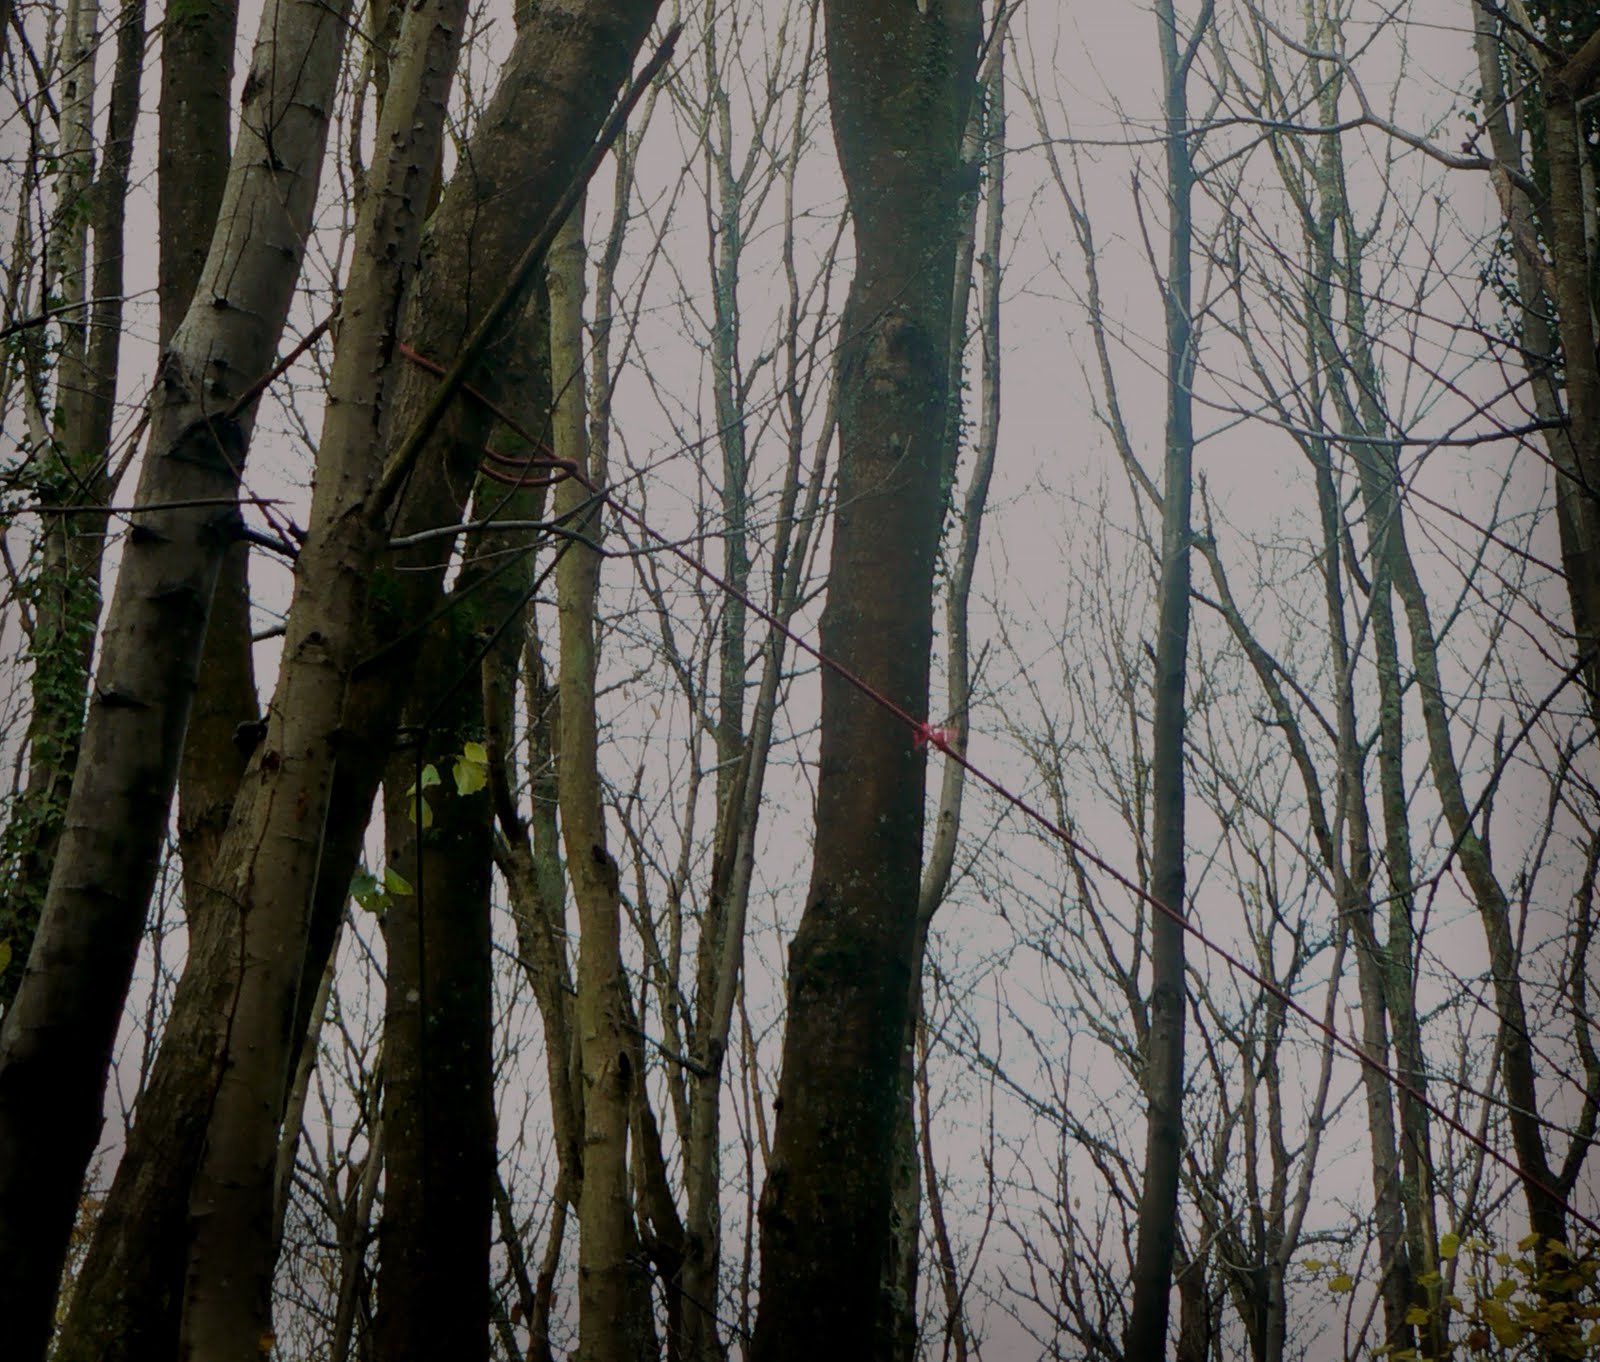
The tree was then felled safely as shown below.
The direction in which the tree is likely to fall must first be determined and then an escape route should the tree react unexpectedly, if an escape rote is not possible a different tree must be used.
The undercut, the first cut, is then made. For this cut the bottom part must be flat and the upper area at about 45 degrees and goes through roughly the diameter of the tree but this is dependant upon several other factors such as the lean of the tree and so on.
Felling a large ash in preparation for making bow strings
The back cut is then made to the other side of the trunk slightly higher up (a couple of finger widths in this case) leaving a couple of inches width so that some control may remain over the tree. The tree is then pulled down with the safety rope and the stump smoothed off.
A safety rope was put in place as a guideline and to help the tree fall in the right direction
Once the tree had been felled then the staves could be created fairly simply as follows.
For speed the trunk of the tree after being felled with an axe was split into 6-8ft sections using a chainsaw though this may be done with a band saw.
An axe was then ran along the length of the logs to create a line in which to follow.
An axe drawn across the ash log as a guide for making staves
Following this the axe was then battered in deeper along the line and at the end of the log as shown in the picture splitting the logs slightly.
Stephen and Sean demonstrate beating the axe into the log to split it
Log starting to split showing “gluts”
Where the logs split a “glut” was then placed and battered in increasing and deepening the split along the log until eventual the log is cleft in two.
Gluts used in splitting wood
The axe is lightly ran through the split log
A log split into two staves
The process was then repeated again to quarter the log and in some cases yet one more time to give 8ths where there was a large enough area to do so.
The staves are now available and ready for the next stage
Part 2: Preparing the Bow Stave
The next stage is to prepare the bow stave to make it ready for shaping the basic bow dimensions.
First the outer bark must be removed and this is a stage in which time and care should be taken, as it is the outer ring of wood that gives the bow its strength and any cuts into this outer ring of wood will result in a serious weakness of the bow. So the bark is to be scraped of gently and can be done as follows. This is the stage at which unwanted cracks may be found as was the case in my first stave that then had to be discarded.
Removing the bark from the stave with a knife
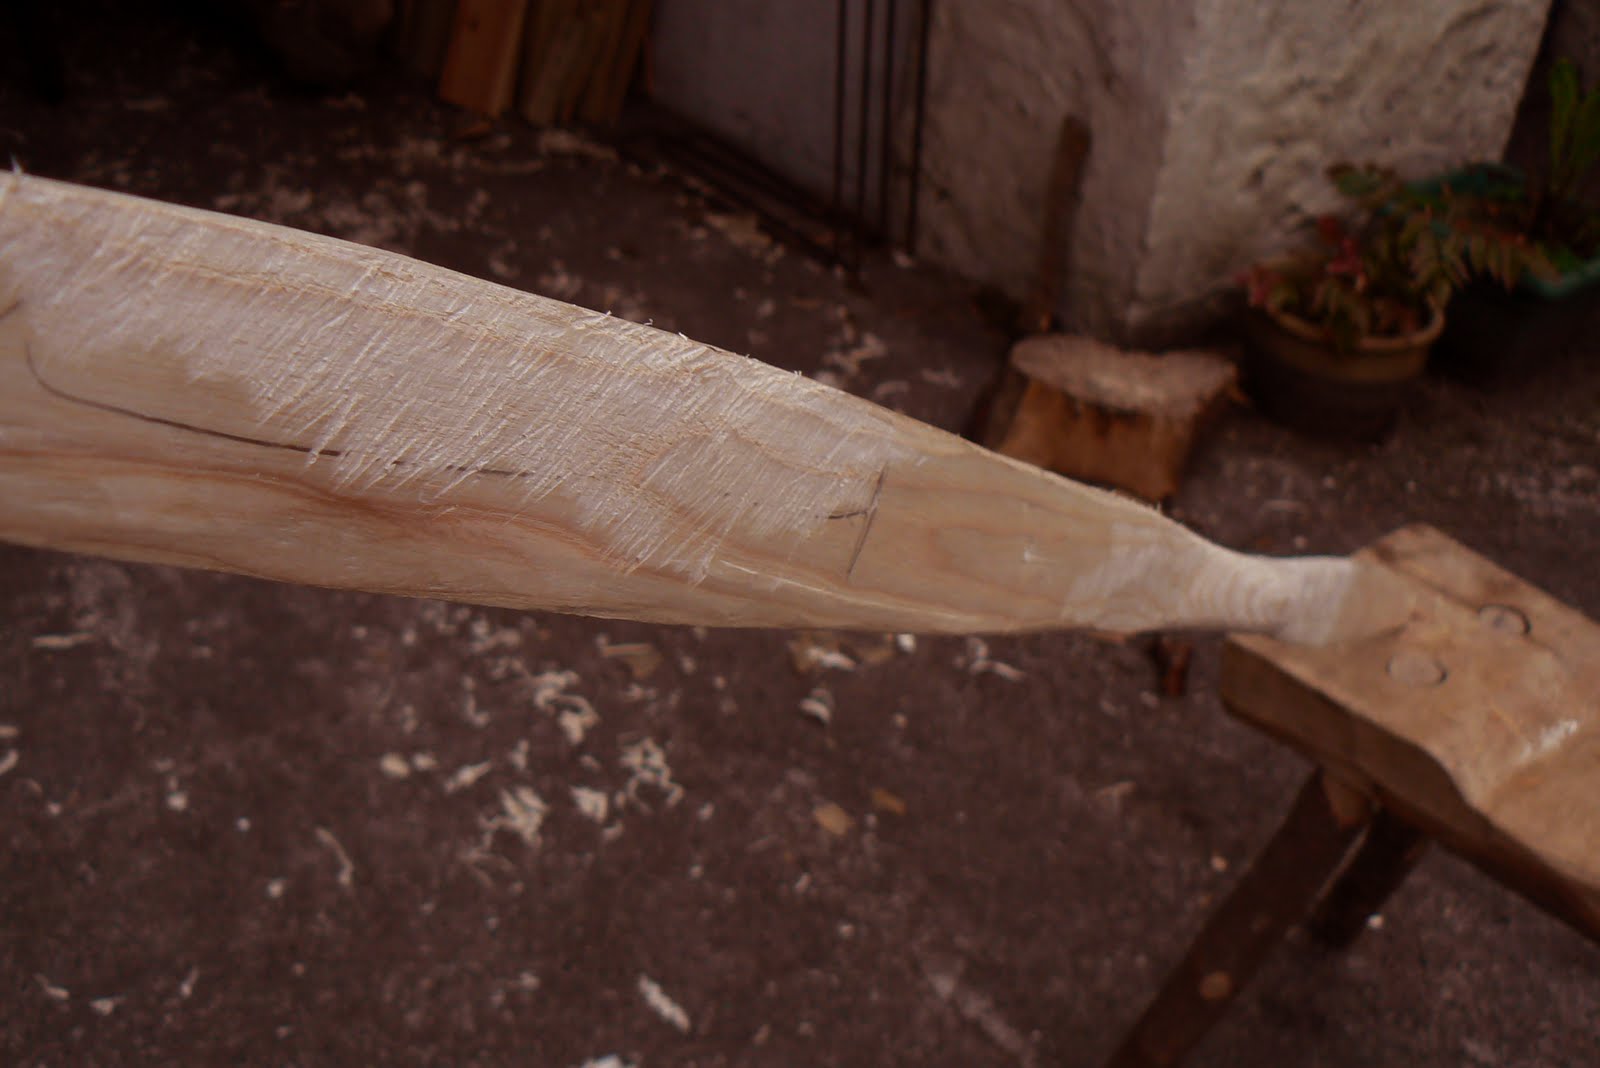
The next stage is to start creating and shaping the basic bow dimensions and cutting away excess wood. First it is wise to take a good look at the bow and decide which type of bow style it may wish to be or is most suitable to. There are hundreds of different bow styles out there but I decided I was going to base my bow on the ancient Mere heath design however this was changed later on.
The dimensions for a Mere Heath bow are as follows.
Mere Heath dimensions
The design was the marked out, the front of the bow being the outer ring of wood and outer edge of the stave and following this excess removed as follows.
Drawing on the dimensions of the bow
To remove excess wood stop cuts were put in place using a folding saw and then knocked out using a knife and baton technique.
Sawing stop cuts into the stave
Removing excess wood from the bow using a knife and baton
The side edges of the bow were then shaped and more excess wood removed with an axe and a knife to create the basic mere heath shape.
My bow after breakage was shortened and evened out to this shape
At this point however a crack had appeared in the edge of the bow and the bow was then altered to resemble more a holmeguard. Unfortunately after journeying, arriving home and floor tillering the bow to warm it off an end of the bow snapped off. Not having much luck with the Mere Heath or holmeguard style I then adopted a variation and a style more my own. I made a shorter bow that resembles a mere heath in miniature somewhat. The power behind the bow would not be so great for making the arrow travel long distances but would still have some power in it. I decided to keep going with this bow and the result would resemble an old stalking bow (bows that were used in stalking would not require as much ability to make the arrow travel far as the stalker would get within 30ft of the intended target)
The bow was therefore reshaped using a spoke shave to make this smaller styled bow once the bow began to bend it was then time to tiller.
Nocks were then put in so that string may be attached to the bow for tillering and as bow string later on
A spoke shave tool used in shaping the bow
Shaping the bow on a shaving horse
Part 3. Tillering the Bow.
Tillering the bow using a tillering jig
Tillering is an extremely important stage in making a bow it is really this stage that turns a piece of wood into a working bow and it is a stage in which much care must be taken.
I used a tillering jig to tiller my bow that are quite simple to make and this one attaches to a shaving horse.
First it is important to make sure that the bow is bending evenly on both limbs, if the bow is not bending evenly then parts will be weaker than other and this may cause a break or a twist and a number of problems. To make sure the bow is bending evenly it is attached to the tiller and lightly pulled so that it may be visible the areas not bending, these areas are then worked on lightly with either a cabinet scraper or a wood rasp as I used, care must be taken not to over work these areas or a hinge may occur. The thickness of the bow should be roughly even throughout.
Removing wood as required during tillering with a wood rasp
Once the bow is bending evenly it is then time to tiller to the desired draw length and weight. Due to the shortness of my bow the draw length was only going to be about 26 inches maximum and we managed to get the draw weight to 36 pounds. To do this the bow is lightly worked on until it may be pulled to the desired poundage/ length, tillering also allows the bow to get used to being pulled and should always be done gently at first to warm it up.
Here you can see the areas worked on with the rasp during tillering
Once the limbs are bending equally and enough wood is taken away to get the desired draw length then essentially the bow is done and ready to be finished and fitted with a string.
Part 4. Finishing the Bow
Now that the bow has been shaped as desired and the draw length as desired all that remains to be done is sand the bow to a nice smooth finish, oil it if desired (I recommend Danish oil) and fir the string the shoot.
To make a string I recommend using Dacron and it is made much in the same way as making cordage and is created as follows in the image.
I made the bowstring using the Flemish string technique and the bottom loop tied using the timber hitch. A Flemish bowstring is made of separate strands cut to length and made into two or more plies and the top loop is made by placing in the end of the plies with the main body of the strings using a rope twist method.
The general rule of thumb is that the amount of string used should be about 3 to 4 times the length of your bow. Once you have the right amount of string, the strings should be waxed so that they don’t unravel.
To form the top loop twist the strand clockwise and then cross it anticlockwise over the other and repeat until a corded length is created long enough to form the loop. Wax the loop as well. Lay in the strings so that the ends are slightly stronger.
To make the second string follow this technique except this time it can be trickier as the ends are broken but the technique applies, the ends are laid in to make it stronger and the strings are waxed. The knot that is then used is the timber hitch “bowyers hitch”
Serving string is then wrapped around the area in which the arrow will rest and the string pulled to protect it from wear and tear.
The string should be waxed regularly.